Description
➤ HOW DO I SUBMIT MY DESIGN DETAILS AFTER ORDERING?
After you place an order, you’ll receive an email confirming your order. Simply reply to that email with all files and information for your designs. *I will not email you for details about your designs. It is your responsibility to send me all details.*
➤ WHAT HAPPENS AFTER I SUBMIT MY DESIGN DETAILS?
After I’ve received and reviewed all details, I’ll reply to your email with an update. Once your designs are ready, I will send previews for you to review. Your order will include one (1) round of revisions to request changes. (This does not include major changes, new designs, different products or different sizes.)
If you ordered prints: Once you give permission to print, I’ll start the printing process. You will receive an email with a tracking number once your order ships. (Print orders do not include the digital files.)
If you ordered the designs only: Once you give final approval, I’ll send a temporary link to download your final files and close the order.
➤ WHEN WILL I RECEIVE MY DESIGN PREVIEWS?
All design previews can be expected 3-5 business days *from the date you send all details for your order.
➤ WHEN WILL MY ORDER SHIP?
All print orders ship 7-14 days *from the date you approve your designs for print.
➤ See the Frequently Asked Questions section for more!
➤ More quantities available! Just ask.
__________
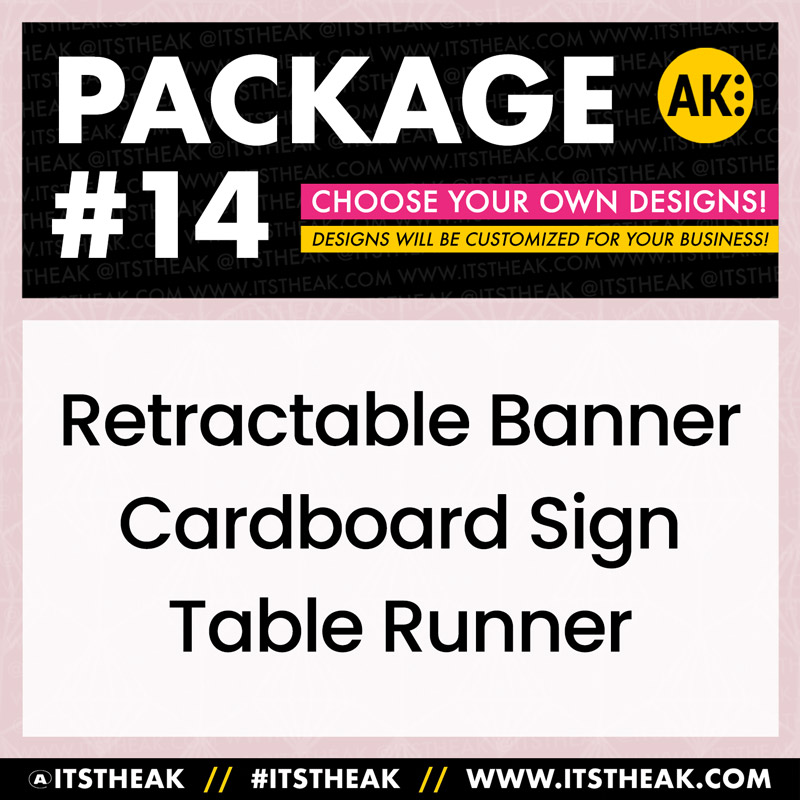
➤ RETRACTABLE BANNER DETAILS:
- Size: 33inx81in
- Material: Vinyl
- Includes: Banner, Stand and Carrying Case
- Features: Quick and Easy Setup, Easy to Transport
- Use: Indoors Only
How do I set up my retractable banner?
- Open your carrying case and remove the the base and pole.
- Set your base on the ground and turn the stabilizing feet perpendicular to the base.
- Connect the pole pieces and then insert into the hole in the base.
- Using both hands, pull the top of the banner from the base and secure it to the top of the pole.
MORE SETUP TIPS:
- Don’t try to pull the banner above the height of the pole. Doing so may damage it.
- Be careful with the edges and make sure they don’t get caught in the base, which could fray or scratch your design.
- When connecting the pole pieces for the base, find the round part inside the hole and stick the pole into it to make sure the banner stands straight.
➤ CARDBOARD SIGN DETAILS:
- Size: 8.5inx11in
- Material: Thick Cardboard
- Includes: Sign w/Built-In Folding Stand
- Features: Lightweight, Quick Setup, Easy to Transport
- Use: Indoor Only
How do I setup my cardboard sign?
- Look at the back of your sign. Unfold the two long panels until they’re at a 90-degree angle from the sign.
- Unfold the shorter panel. At a 90-degree angle, it should fit into the notches in the side panels.
- Put your sign in place, making sure that there’s nothing obstructing the view of your messaging.
➤ TABLE RUNNER DETAILS:
- Size: 24in, 30in or 36in
- Material: Polyester
- Includes: Full Color Printing
- Features: Machine Washable
What are the dimensions of each table runner?
All-Over Printing:
- 24″ = 24″ x 84″
- 30″ = 30″ x 84″
- 36″ = 36″ x 84″
- 60″ = 60″ x 84″
Front Print Only:
- 24″ = 20″ x 17″
- 30″ = 26″ x 17″
- 36″ = 32″ x 17″
- 60″ = 50″ x 17″
How do I wash my table runner?
- WASH: Machine wash on the delicate cycle with cold water.
- DRY: Use your dryer’s tumble dry low setting – or air dry.
- STEAM: Optionally, use a steamer to work out any small creases.


Reviews
There are no reviews yet.